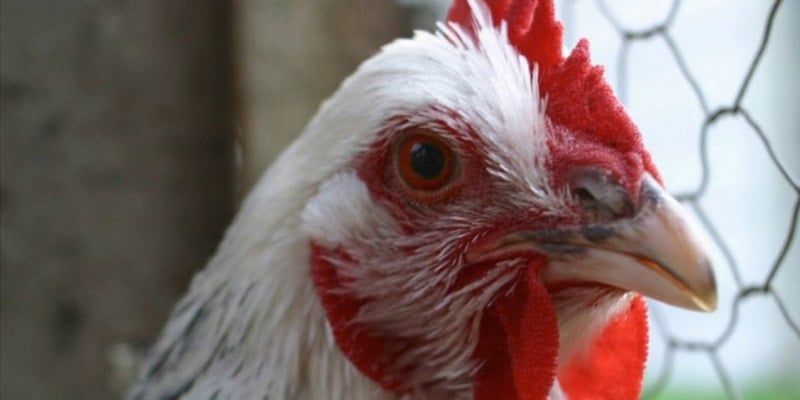
The Art of Incubation

The other side of science
Incubation is equal parts science and art. While the science part has been figured out for us, it’s the art of the incubation process that will provide the best quality chicks at hatching time. “Tweaking” the temperature and humidity levels based on the quality of the incubating eggs can mean the difference between having a so-so hatch or a spectacular one.
I’m often asked, “Why didn’t my chicks hatch?” The answer to this question depends on the stage of incubation when the embryo died or failed to breach the egg shell and hatch. Let’s start with a typical “late dead” failure to hatch—typically after 18 days of incubation. Around 40 percent of all failure to hatch eggs fall into the late dead category and examining the failed eggs is key in finding out why the eggs didn’t hatch.
Egg breakout
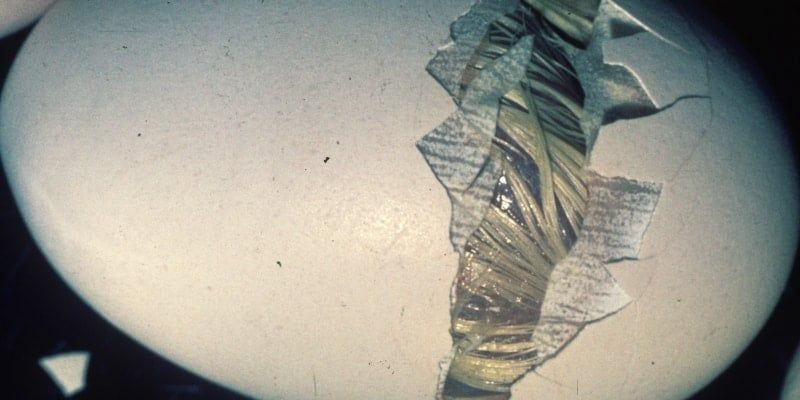
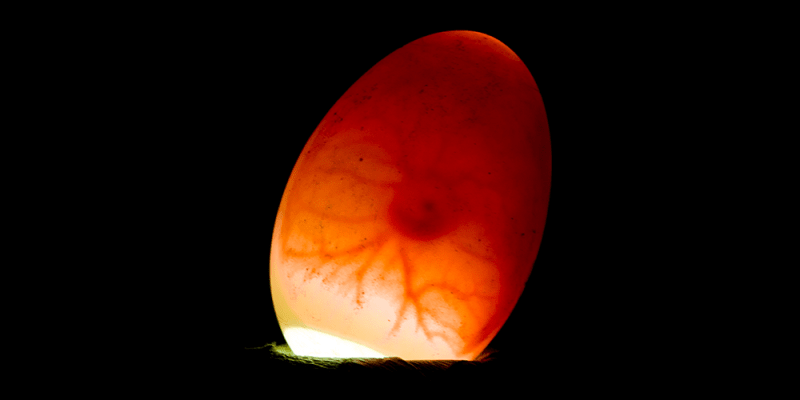
The following is the procedure for performing an egg breakout: Open all unhatched eggs at the air cell end to identify the stage of development. In this instance, we’re looking for “late dead” or “late alive” failure-to-hatch eggs—the embryos would be fully developed and may or may not have pipped the shell.
Breach
The first abnormality you should check for is if the birds are in breach hatching position. This is the cause of a large portion of late dead chicks. The normal position for a chick to assume prior to hatching is with the head under the right wing. The following positions are considered breach:
- Feet over the top of the head
- Beak above instead of below the right wing
- Head turned to the left
- Head in the small end of the egg
- On day 17 of incubation, the embryo will move into position: head towards the air cell and under the right wing. Rough handling at this stage can lead to a breach presentation and failure to hatch. Another thing to be mindful of is placing eggs large side down. This will cause the embryo to develop in the small end and won’t allow enough room for it to move into hatching position.
Poor nutrition in the breeding stock is another consideration. This can translate into low-vitality for the chicks that will keep them from being able to move into proper hatching position. Count all of the embryos from your egg breakout that are out of position and write it down in your records.
Humidity levels
Another leading cause of late embryo death is when the yolk fails to absorb into the chick’s body cavity. This is typically caused by humidity levels that are too low, although too-high humidity levels can cause problems, too.
Too dry
“Dry” chicks—from lack of humidity—will stick in the shell and won’t be able to rotate into proper position to pip the shell. These chicks will be found either dead or alive in the egg breakout examination—look for unabsorbed yolk or a fully developed chick stuck to the shell or membranes. These clues mean that the humidity levels were too low during incubation.
Too wet
Next, look for late dead chicks with excessive moisture or albumin on their down or in the shell. This causes chicks to be sticky and makes it difficult for them to turn in the shell and begin the piping process to hatch.
Sticky chicks are an indication that the humidity levels were too high during the incubation process and hampered the absorption of the albumin. Sticky or wet chicks can also be a sign of a too-low average temperature along with excessively high average humidity.
Get ready to incubate
The storage and handling of the eggs prior to incubation plays a big role in the final outcome. Holding eggs at the parameters outlined below will insure minimal embryo growth and minimal water loss before beginning the incubation process. Here are some tips to get your chicks started off right:
- Eggs held for seven days should be kept at the optimal temperature range of 60°F to 63°F
- Holding eggs longer means storing them at a slightly lower temperature to help slow embryo growth
- Humidity for eggs held for seven days should be approximately 85-percent relative humidity
- Egg weight loss during the holding process through the entire incubation period should average approximately 11- to 12-percent of total weight
Most of the weight loss will be from losing water, making it even more critical to fine tune your incubation practices. Pay attention to detail and you will be rewarded with a hatch full of vibrant, healthy, and robust chicks.
“The art of controlling the loss of water from the egg plays a huge role in the success of your hatch. More importantly, it can determine the overall health and quality of your chicks, meaning fewer problems as they mature.”
Tags:Ask The Doctor


Chicken Whisperer is part of the Catalyst Communications Network publication family.